Pages

Monday 16 December 2013

All he wants for Christmas...

Christmas is go in the Runcible household: we have tinsel, fairy lights, candles, glitter, mince-pies, and mystery decorations made at pre-school. 

So why does my husband look a little bit afraid, a little bit anxious, a little bit like a man haunted by an unspeakable dread?

I think I might have the answer.

He had suggested some practical - and fairly specific - Christmas gifts:
 cycling gear, socks, books.

Could it be that he's afraid I might be baking, stitching, crafting or crocheting all of the above?

The socks must be a particular worry.


So, will I be knitting reflective bicycle clips this Christmas?

Watch this space...

Tuesday 24 September 2013

When the going gets tough...

... the runcible house gets organised.

Tidying up is my default displacement activity.

Because even though the universe might have infinity and entropy and chaos,
at least my fabric scraps are all in order.


Wednesday 7 August 2013

A truly reusable bottle bag

Do you re-use your bottle bags? I'm thinking of those nice paper ones which dress up a bottle and make it look a bit more gift-worthy. I re-use mine - it seems wasteful not to - but always with a niggling awareness that they are never quite as crisp and perfect on a second (or third, or fourth) outing. And I know it's just not so much fun getting a present in less-than-perfect packaging.

Last month, at the end of term, I had some bottles which needed to be wrapped up nicely  for teachers, and found myself with no bottle bags at all. Something must have gone badly wrong in the bottles-in v bottles-out ratio in the runcible house. Luckily I had plenty of fabric. I wish I'd taken photos, but it was a last minute scramble and they were off to school whilst the bags were still hot off the sewing machine. Instead, here's a picture of another fabric bottle bag - this time with a touch of patchwork on the side...


Fabric bags, it turns out, are so much better than paper. They feel reassuringly durable, they look a bit special, and - best of all - they are really, truly reusable. They won't crumple like paper, and, even if they get a bit creased, a moment under the iron will make them look new again.

Here's another - it turned out unintentionally Christmassy, so I'll be putting it away for a few months.


I'm hoping that they are so reusable that they will be passed on, and on, and on... and eventually one might even come back home to me (maybe even with a nice new bottle inside it).

Here's how I made them  - it was quick and easy, and used only a fat quarter of fabric and about 30" ribbon.

I started with a piece of fabric 18" by 13"...


... and snipped it in half lengthways...


... and pinned, then stitched, some ribbon on the top edges for handles. 14" for each piece of ribbon makes for a generous length. This edge will be folded over and hemmed, so the handles will be stitched again to make them secure.


I sewed the two pieces together along their bottom edges, right sides together, and pressed...


... then stitched the long sides with wrong sides together and  a narrow seam allowance, ready for French seams on the sides. This is where I added the applique panels on some of the bags, with the raw edges of the panels trimmed to match the side seams of the bag.


And I turned it inside out with right sides together to make nice French seams up the sides.


I sewed across the corners at the bottom - the blue line is 2.5", which gives a nice square base to the bag.


Then I folded the top edge twice, and stitched the hem, catching the ribbon handles to secure them.


Done!


Tuesday 25 June 2013

Flat S in England...


We've has a very special visitor in the Runcible household this week: Flat S sailed over from America on her way around the world.


 It was a little bit magical having her to stay - as though a story-book character had stepped off the page and come to play! After all these years sewing O+S patterns, I was a little bit in awe at first, but the children just got on and played with her.


The story of her adventures with us is over on the O+S blog today, and now she's sailing away to her next destination...


Happy Travels, Flat S!


Tuesday 4 June 2013

A little change to make life better

This was my peg bucket.


It said 'PEGS' in big friendly letters on the side, and so I always believed that it must have some special powers to make it perfectly suited to peg storage... and yet it was almost completely unfit for purpose. 

Sometimes I found snails living inside it. 

Then I had a revelation: other people use peg bags. Last week's phone cosy process works equally well for a simple little bag. I scaled it up a little, added a shoulder strap, and used a morsel of precious Japanese linen for the flap.


The stripy fabric is from Cath Kidston (with a sturdy interfacing) and the lining is grey gingham from Ikea.


 I feel like a proper grown-up with my bespoke peg bag, and it lives indoors, where there are no snails.

Why didn't I think of that before?


Wednesday 29 May 2013

Leibster adaptations

I had a lovely compliment last month from Natalie at Sewing Room Secrets, who nominated runcibledays for a Leibster Award. After looking through her beautiful blog I feel very flattered to be on her reading list. 

The only catch is that I had to answer eleven questions, and then pass eleven questions of my own on to eleven other blogs. That sort of challenge could set me procrastinating for years.

I muddled through the questions, though:


  • Sweet or savoury? (sweet, unless the savoury option were cheese, then maybe both)
  • A few really good friends or lots of acquaintances? (a few good friends for a night in, though lots of acquaintances can be nice for an afternoon at the park)
  • City girl or country? (live in the city but love the countryside especially when there are goats)
  • Morning person or night owl? (night owl who likes early nights)
  • What is the most unusual thing you have ever eaten? (I can remember the sausage which rendered me vegetarian twenty years ago)
  • What is your earliest memory? (not sure, but I can remember being very excited by cheese on toast at my kindergarten)
  • What is your favourite smell? (my babies, of course, and springtime)
  • What 3 words would you choose to describe yourself? (judging by the above: indecisive, indecisive and indecisive)
  • What qualities do you most treasure in a friend? (tolerance and tea-making skills)
  • How did you choose a name for your blog? (a long story beginning and ending with the Owl and the Pussycat)
  • Is there such a thing as ‘enough’ fabric? ('never')

    This next step might be cheating - but I like to think that it's still in the spirit of the Leibster award and its mission to encourage small blogs.

    Instead of nominating eleven blogs (and asking eleven questions) I'm going to mention just two (but they are both very much worth visiting):


    and 


    I met Sandi through the Oliver + S flickr group (before flickr turned to the dark side). She has just released her second pattern, the Little Man Tool Belt (it also works for little girls who want to stash away snail shells and bits of twig from the garden). I was lucky enough to be one of her pattern testers, and can absolutely recommend this pattern. It has lots of clever pockets, no raw edges, and plenty of clever toddler-friendly adaptations (adding a ribbon tab on the zip, for example).

    Amy and I bonded over the Sugar City Frock a few years ago, and since then her online shop and blog have gone from strength to strength. She is a master of clever cutting, and has also recently also released a pattern - a travel game set, which also links up with a binding tutorial on her blog.

    Thank you again, Natalie, 
    and please forgive me for rewriting the rules a little. 


  • Wednesday 22 May 2013

    A phone-cosy for all seasons


    My phone has a new home.


    I'm much more excited by the case than by the phone inside it. It's taken a lot of experimenting with various gadget cosies and cases, but at last I've happened on a quick and satisfying way to make then whole case (including the lining) in one step, with no seams showing.

    I'm thinking that there are two groups of people who might want a gadget-cosy:

    1 - those who love their gadgets and want to protect them;

    and 

    2 -  those who hate their gadgets and want to hide them away.

    That would be everyone. Almost. So I'm sharing photos of the process just in case it saves someone else a few hours of fabric origami.

    And here's what I did...

    (please bear with me on the tedious measuring stages at the start - it's really just one long rectangle - there's no actual maths going on here).

    First I drew around my phone.


    Then I drew a box  about a quarter of an inch outside the phone's outline (I'll talk about 'the box' quite a lot in these instructions, for want of a better description).


    Next, I drew some parallel lines half an inch from the long sides of the box, for seam allowances.


    I measured from the top to the bottom of the box, and added identical rectangles (the same length) above and below, to create one very long rectangle, then added half-inch seam allowance at the top and bottom. In the photo below the dotted lines along the short ends of the rectangle mark the half inch seam allowances. The solid line just below the phone, at the bottom of 'the box', will be where the fabric is folded later, so I'll be calling that the fold line.


    Just in case that sounds too theoretical, this is how it worked out for me:

    My phone was 3" wide, and I added 1/4" each side for the box, plus 1/2" seam allowances = 4.5" width.
    It was 4.5" long, and I added 1/4" above and below for the box, making 5".
    Then I added a 5" long rectangle below, plus 1/2" seam allowance = 5.5".
    And a 5" rectangle above, plus 1/2" seam allowance = 5.5".
    So the final pattern piece was 16" long by 4.5" wide.


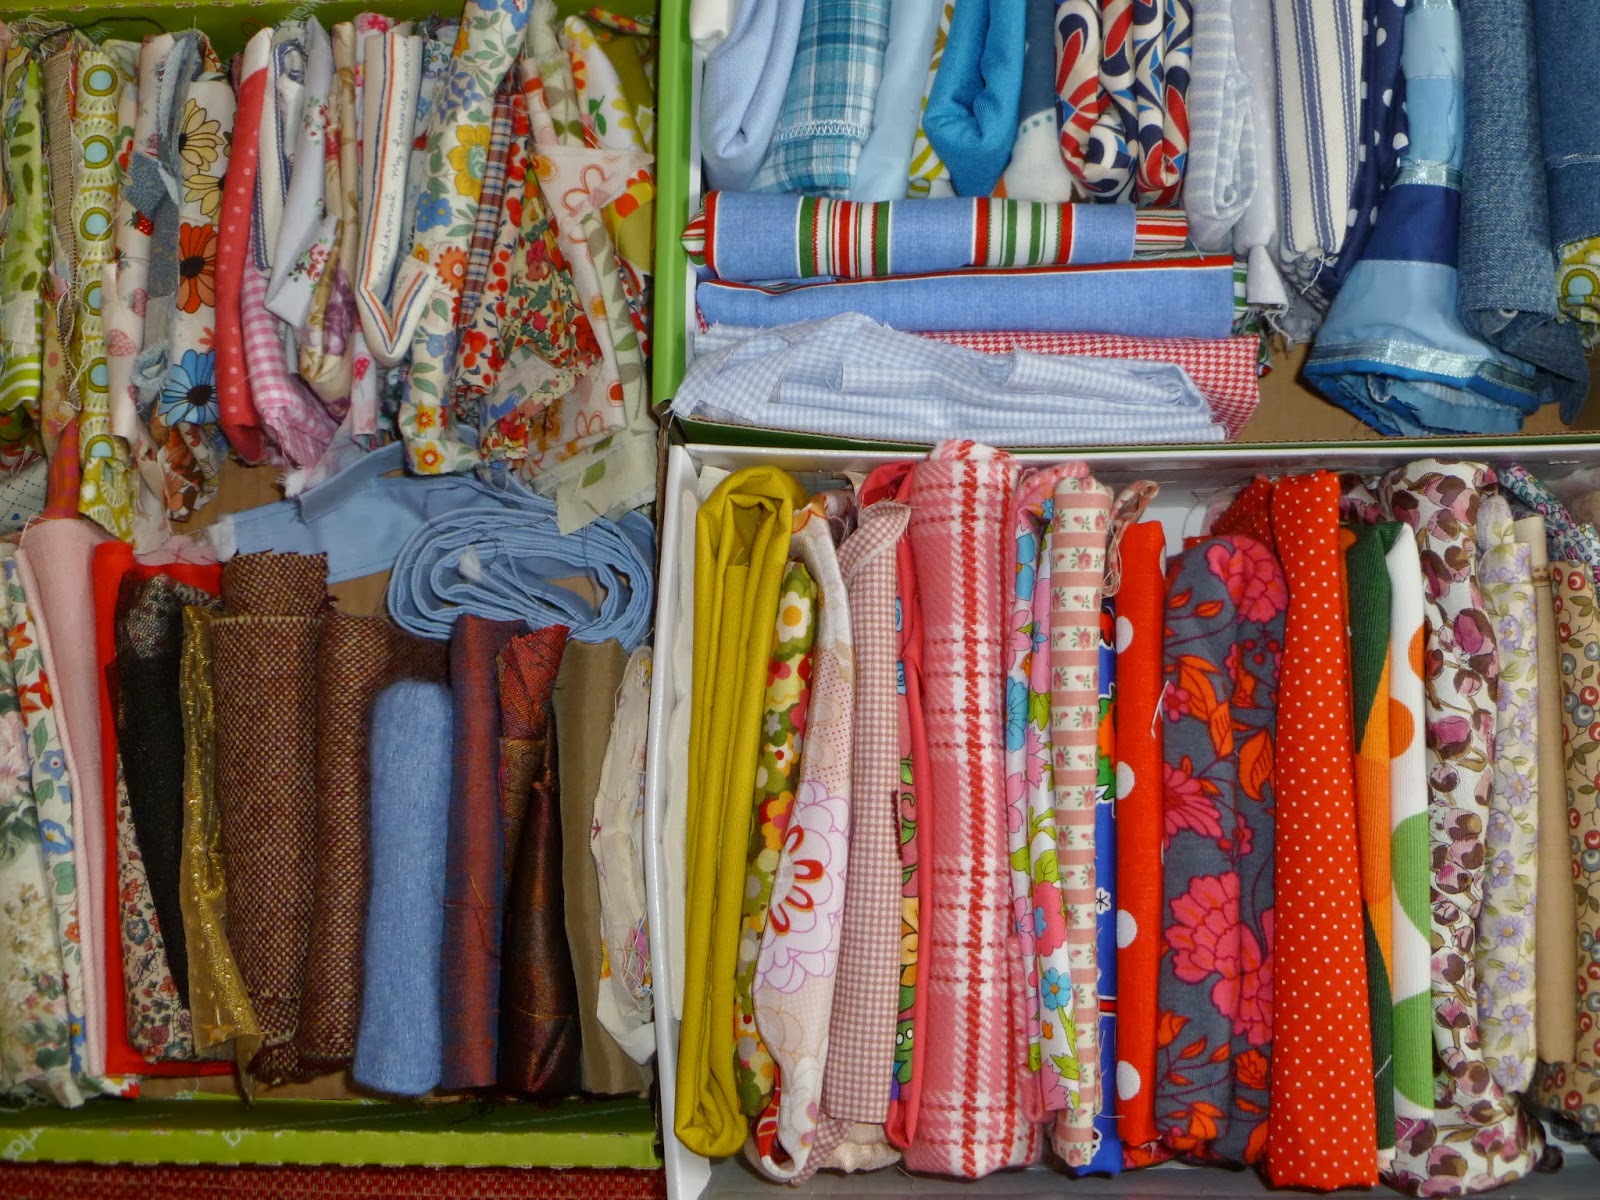
    I used my long rectangle to cut a piece of outer fabric and a piece of lining. I chose to use some quite thick outer fabrics in order to provide a bit more protection from accidental bumps: a wool boucle for the kindle, and a thick felt for the phone. The linings were Liberty scraps (I knew they'd come in useful sometime!).

    I also cut an extra piece of lining fabric measuring 2" by 4.5" which I interfaced, folded in half lengthways and stitched along its long edge...


    ... then I turned it right-side-out and pressed it into a tube..


    ... and stitched it to the right side of my outer fabric, about 1" below the fold line.


    That's the end of the preparation, and this is where it gets a bit more interesting.

    I sewed the outer and lining pieces with right sides together along their bottom short edge. I pressed the seam well and under-stitched the lining...


    ...then pressed it again with the wrong sides together and right sides facing out. 

    Here it is: I've turned it over so that the sewn seam is at the top, and the lining is above the outer fabric. It helped to have the paper pattern beside me at this stage:
    I placed the paper pattern beside the fabric, so that the sewn edge was level with the line at the top of 'the box'.


    Then I folded the lining fabric up along the fold line, with its right sides together, so that the raw edge was level with the top of my paper pattern and the wrong side was now facing up (allowing a peek at the wrong side of the outer fabric beneath). I pinned it along the fold line, just as a temporary measure to hold it in place for the next step.


    I flipped the fabric over, so the outer was above the lining, and folded up the outer fabric in exactly the same way: folding up along the fold line, right sides of outer fabric together, upper raw edge aligned with top of paper pattern.

    The sewn edge is now sandwiched between the two layers (though that's hard to show in a photograph).


    And then I stitched along both long sides, pivoting at the top corners to sew about an inch along the short upper edge as well, but leaving a two inch opening at the top for turning through. The stitching lines are just visible in this photo below.


    I trimmed the corners...


    .. and turned it through the gap.

    Ta dah! All of a sudden it looked almost finished.


    I slip-stiched the gap at the top closed, and also hand-stiched the corners in order to taper the flap slightly. I suppose I could have sewn it with slight taper, and might do that next time.


    And it was done.


    The phone slips in nicely and the flap tucks neatly under the band.


    I like the long flap, though of course it would work with a shorter one too. My original gadget-cosy was a case for my kindle, which had a shorter, curved flap and a button closure.


    I'd be tempted to do another like this, even though the bound buttonhole more than doubled the construction time! I used this tutorial for the buttonhole, and have to say that it makes me very happy, so the time invested in it was more than justified.


    I wouldn't recommend the smaller flap for a mobile phone case - the thickness of the fabric means that it doesn't fold over especially neatly, whereas the longer flap flips over beautifully, and the band provides a satisfying splash of colour.


    A case this pretty might even teach me to love my phone...


    Thursday 2 May 2013

    Making do and mending in space and time

    So, the Sewing Bee is over, and KCWC too. It's time start sewing again instead of just watching other people making things. The only problem is the mending pile. This is the dark side of sewing: it's so practical and useful that it can easily become a bit mundane.

    Which is fine, but not especially relaxing, and not necessarily much fun.

    Although sometimes the repairs can take on a life of their own...


    Recently I've been hearing the term 'home sewing' to describe, well, home sewing, and I  like that way it encompasses what we do, whilst completely bypassing the question of why we do it. It avoids the whole issue of whether 'home sewing' is recreational or functional. Is it a utilitarian life skill, or an artistic endeavour or a self-contained hobby? It doesn't matter - 'home sewing' brings sewing into the same bracket as cooking or DIY: virtuous and necessary, but with the potential for enjoyment and perhaps a bit of quirkiness.


    And it does make me happy when all the facets of home sewing come together in one uber-satisfying Who-themed knee patch.


    Oh, and there's a reason why the boy has holes in his trousers. Here's how the Tardis looked the next day...


    More mending is sure to follow.


    Tuesday 23 April 2013

    There's sewing all around us...*


    It's day#2 of Kid's Clothing Week.

    And the final of The Great British Sewing Bee.

    And my local sewing shop is doing crochet classes.

    And I have a lovely new dressmaking book.

    And my friend Lucy is looking for a pattern to make a first-ever dress home-made dress for her daughter.

    I'm not sewing anything. All the activity is just too distracting.

    But I am making a bid for Lucy to try out the Oliver+S Rollerskate pattern, on the basis that every little girl should have at least one. This version was constructed with her daughter in mind, knowing how very important pinkness would be to her, and with the elastic casing dropped to waist level to appeal to the 4 year-old/princess aesthetic...


    Must go - there's so much sewing to watch, read about, discuss...

    I might even do some.


    *(to the tune of 'Love is all Around', of course).

    Sunday 14 April 2013

    A trail of internet inspiration


    My little runciblegirl had a birthday last month, and she's at an age where presents for her doll count as presents for her. 


    Preparing for her birthday was a bit like arranging a very tiny baby shower.

    First, a nod to the practicalities with some nappies made from a pattern by Skip to my Lou, and a tutorial from Bee in my Bonnet. The moment of true sewing genius in the tutorial comes when she suggests using flannel for the lining because it clings to the outer fabric and eliminates the need for pins. Oh so clever. I'm not a great lover of pins, and I do like a timesaving shortcut.


    The little case for baby wipes was copied from Making More with Less (and incidentally, she also links to an alternative pattern for dolls' nappies, as well as an elegant little changing bag). I only had tiny scraps of the floral by this stage and was using it sparingly.

    The little wipes are just pieces of flannel cut with pinking sheers and ironed to give them a crease - yet they're one of runciblegirl's favourite things in the whole set.


    Of course, a baby will needs some bibs. I used a miniaturised hybrid pattern based partly on my own bibs, and partly on a scaled down version of another favourite (life-sized) pattern from Amy at Lots of Pink Here. The Paddington fabric has been in my stash since son#1 was born over a decade ago, so it was a joy to use it again.


    Such a well-equipped doll might need to go on excursions outside the house, so I added a Teddy Bear Carrier from Little Things to Sew - quick to make, and a chance to use some beautiful buttons.


    And then, the day before the birthday, up popped a bag pattern on Pinterest which was just right for the last remnants of dolly fabric. I'll do it differently (= much more carefully) next time, but runciblegirl loves it, so all's well.

    Just a quick note on the bag: the pattern is in Japanese (I think) which I don't speak, but the photographs are meticulous and take you through ever step. My funny little bag was made in haste! Next time I'll be more particular about copying the proportions of the illustrated pattern pieces.


    Happy Birthday, little runciblegirl!

    And thank you, to all the generous people whose patterns I've used. They are being well used and well loved.